Thursday, September 27, 2012

Threadbias Pincushion Swap

PCS2012 original fabric pull


I signed up to do a Pincushion Swap on Threadbias a few weeks ago. The only requirement for this swap is that we use the Threadbias colors of Green, Blue and Orange. Got that covered....check!! We can use any combination of those that we choose.

The first photo up there was my original fabric pull. I quickly narrowed it down a bit as some of the fabrics just didn't fit well. Here's what I ended up with.

PCS2012 revised pull


I know what pincushion I'm making (Shhh...can't tell yet!). As soon as I signed up, I knew what I wanted to do, but also had some backup ideas in case I discovered my partner wouldn't like it. From what I've heard from her tho, I think it's a go so full speed ahead!

I know I won't include all of these fabrics in the actual pincushion...I'm thinking these will be the main fabrics for that part. But that may change too....I know, I'm indecisive right now! lol I won't likely decide til I actually start sewing...that's just the way I roll folks!

PCS2012 possible main fabrics


I will be including the other fabrics, along with some more scraps I'm sure, in a little goodie I'm going to make as well. I've had an idea for an extra lil something stuck in my head since I decided which pincushion to go with, and since it doesn't seem to want to leave my mind, I figured I'd just go for it. :)

Short little post this time. Stay tuned for some teaser posts tho!

Tuesday, September 18, 2012

I Spy.....

gift ispy bag
A great gift idea!! :)


This was a commission for my aunt. I made an I-Spy bag for her son's birthday and she asked me a couple weeks later to make another for her to give as a gift to her friend's son. That kinda tells a girl she made a great gift!! *wink*

This is the third bag I've made now and they're such a quick and cute little gift idea. The toughest part is finding things to put inside them!

I was going to write up a quick tutorial, but it's been done a few times over so I'll direct you HERE (this is the link to the I-Spy bag I found during my original google search. I glanced at the photo and made up my own method, but this one is simple and straightforward :) I will give some tips and tricks tho, as there are some things I did differently.

I use fleece rather than flannel or cotton for a couple reasons....mostly because I have a lot of fleece scraps. LOL But, I also like that it doesn't fray and has a bit of stretch to it. While looking for some items, it's nice to have a little give in the fabric for manipulating things around. I figured the little one's could use all the help they could get.

Rather than just stitching a list of items on the back of the bag, I take a photo of the items(typing out a list could also work tho!), print it and then laminate it. I sew a ribbon into the outside seam of the bag while I'm constructing it that I then attach the laminated photo to. This means no lost picture! And the kids don't have to continuously turn the bag over to see what else they're looking for...no losing their place. :)

The laminating serves two purposes....protects the photo (Not that kids are usually accident prone or anything, but I figured better safe than sorry *snicker*) and makes it re-useable with a dry erase marker. I also sew a pocket into the back side to hold the photo and the marker. All neat and tidy for mom! :)

For this bag, my aunt gave me a few things that she wanted included inside...some 'Cars' swinkees (little pencil topper thingys) and some erasers. I added a few other things I had laying around as well as a few dollar store finds. I bought the dinos and the ball/jacks and discovered (sadly after the whole thing was already together) that they are actually just a bit larger than I'd like them to be for this kinda thing (they're bigger than normal jacks and the dinos were on the unusually large side too..gotta love the dollar store!). They'll be ok, but they take up more room making it a bit tougher to move them around. So, if you plan on making your own, take my advise and stick with smallish things....things about the size of an average bouncy ball.

I alter the things I include depending on who I'm making the bag for. For example, if I'm making the bag for a very young child, I like very bright and colorful items that aren't too tiny. Makes the items a little easier for the kids to find. When making a bag for an older child, I would use less colorful, smaller items. For an older child, I would use beads, coins, small buttons, etc. I would also make the vinyl window smaller. All things to make it more of a challenge. :)

I used rice as the filler because I have a very large bag left to use up, but you could also fill them with poly pellets! If you have any questions feel free to leave a comment and I'll help if I can. And if you make one of these I'd love to see them! :)

Monday, September 17, 2012

Snap! A cozy new home for my camera

Months ago I decided I really needed a bag for my camera. Carrying it around unprotected wasn't good. The poor thing was getting bumps and bruises from traveling around with me and every time one of the kids got near it, I always worried about what they'd drop, spill or catch on it.

I had an idea of what I wanted, and of course, I didn't just go the easy route and buy a pattern, Hmm, no, not me! Thus....a couple months later, I finally have a camera bag. I procrastinate like a champ like to give myself time to think of exactly what I want in my projects!!

Before I get to the deets, here is why I should learn not to work on things that require measurements or precision late at night...

oops camera bag

See that there?! Yeah, hmm....nice huh?! Well, those were the little slits I cut to place the magnetic snap. First of all, there's going to be a pocket there so it wouldn't have worked even IF I had put it in the right place and second of all, uhmmmm...yeah, it was in the wrong place. Like, reeeaaallllly in the wrong place. It needed to be about 5-6 inches higher than it was. The photo below shows the pocket with the snap in the right place. I didn't miss it by just a little bit. Yeah, I'm that good!

oops comparison camera bag

So, I stuck some fray check on there, and did a little creative sewing to fix the holes that I had cut for the snap.  Thankfully, the pocket that's supposed to be there will hide it. *snicker*

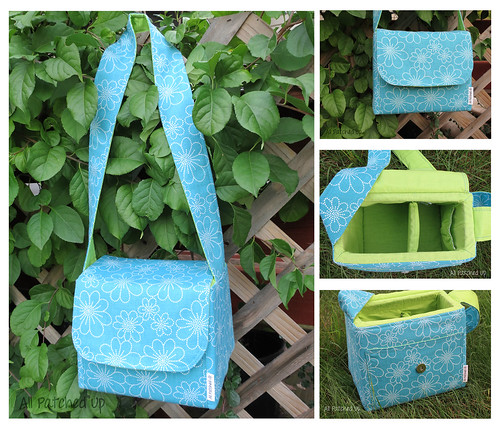
All in all, the finished bag is nice and close to what I want. It makes a nice first draft. Ha!! Yep, I'm already planning the new and improved version. While it's an ok bag for now, there were a couple of issues.

camera bag photo grid
The gloomy grey weather we've had lately isn't really conducive to nice photos.
Combine that with my lazy 'always leave my camera on auto mode' rather than learning to use it properly leads to some weird lighting/coloring. Sorry lol

First and foremost is the shape. I wasn't really thinking about the foam padding being so stiff when I originally designed the bag. It's wider at the bottom than the top by a good 2 inches. That's great for a flexible bag, but doesn't work quite as well for a stiff, padded bag that doesn't have much 'give'. Getting the camera in and out isn't as easy and quick as I'd like. 

My measurements were also off for the magnetic snap. (Don't laugh too hard here people!!) Even after fixing my first snafu with the snap, it still doesn't line up quite right for some reason. So, the fold over flap mostly just flops and doesn't really close unless I really push it, and then it kinda pulls on the flap funny so I generally don't engage the snap. If the bag were to fall over, the camera could theoretically fall out (altho that top being 2 inches smaller doesn't seem so bad now!! LOL).

I really should have made a longer strap, or even better, an adjustable strap. That would leave me the option to make it a cross body strap so I don't have to worry about holding it or it slipping off my shoulder when walking, hiking, etc watching the world thru my lens.

The other issue I have is the lining I chose. This was a project I brought with to work on while up north (not a fabric shop even kinda~sorta~somewhat close up there), and I had quickly stopped to pick up some fabric for the lining on the way. I saw the color and it was perfect, looked like a linen blend so rushing out the door with it, I didn't pay as much attention as I should have. I'm not sure exactly what it is, but my plan was to use Heat-n-Bond on the foam pieces on the lining side...to help keep the lining inside the bag and so on. I've done this before and it works well for me. It was not a good idea with this fabric. The 'glue' from the Heat-n-Bond came right thru the fabric so I only did a little along the top of each side (and it looks like crap btw). So, the lining doesn't stay in place as well as I'd like it to.

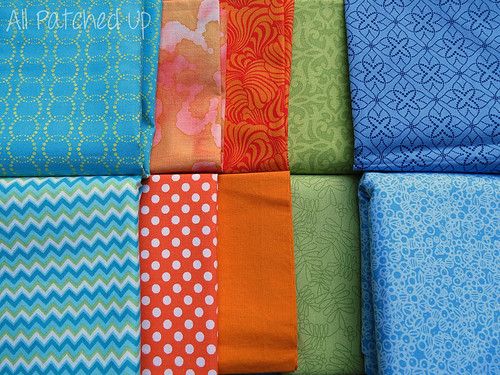
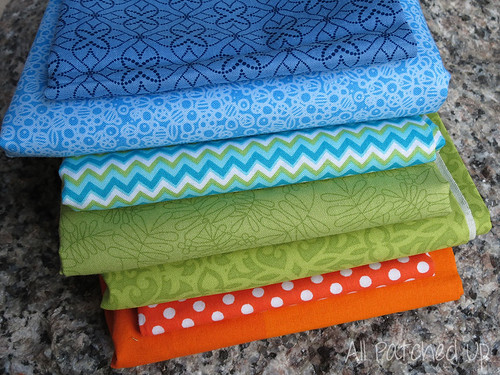
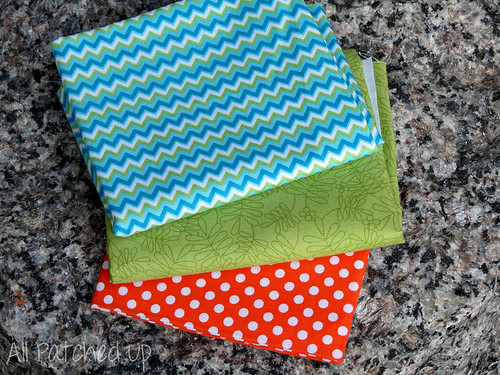
There are some good things about this bag tho: I love the HomeDec fabric I chose for the outside and may go back to pick up some more to use with version 2, I used one of my favorite color combos (turquoise and lime green), both the exterior and interior pockets turned out well, the padding does make me feel like my camera is safe & secure and I learned a few things along the way. So, I'll definitely be improving version 2. *grin*

Thursday, September 13, 2012

What became of the hexies?!

This post took a lil longer than I wanted. Oops. We went up north for the week for my daughter's birthday, and well, I discovered that while I have lots of ideas, sew lots of things, and know what I want to blog about..the part that holds me back is uploading and working with the actual photos. *ahem* I'm terrible!!

Anyway....remember these little lovelies?

 
Well, I turned them into these...

A matching set!


I made these cute matching bags for my daughter and her BFF. Their birthdays are only a couple days apart, and right at the end of summer/beginning of the school year. They're nearly inseparable all summer, but once school starts, they spend more time apart as they live in different cities. Knowing how close they are, and how tough it is to make the summer/school year transition, I thought a matching set of bags might help a bit. Ease the pain of separation so to speak.

They're typical teenage girls, so a make-up bag was the natural choice. I lined them with oilcloth, and did french seams so that any spills wouldn't completely ruin anything. After doing the first bag, I began to regret the french seams idea...but I did the 'good mommy' thing, and still made the second bag just like the first. lol The oilcloth lining made for some very thick and uncooperative french seams. It looked nice, but nope, won't be doing that again. Lesson learned.


My daughter knew I was making the bag for her friend, but didn't know I was making her one. (I'm sneaky...wanted to know she'd like the colors and fabrics so asked what she thought of them, then made hers when I got the ok...she asked me to make her one!! lol) So, after I finished them, I made these quick little tags with their first initial so she would know one was for her too. :)


They were the perfect gifts for these two. They loved em, were all smiles and I know they'll get a lot of use out of them...well, least my make-up freak will. *smile*

So, not too bad for my first batch of hexies!